
Creating & organising views
KEY TERMS
A View is a subset of a project, defined by logical conditions based on the concepts it inherits. Each view can also define its own set of concepts, creating a hierarchical visual ontology.
A Root View is the entry point of this hierarchy. It has no conditions and therefore applies to all images in the project.
Parent and Child Views are connected through logical dependencies: a Child View is defined by conditions applied to the concepts of its Parent View. As a result, a Child View applies only to a subset of the Parent View’s images.
Create a new View
Root View
To create a root view, you need to click on Add a root view if it's your first root view, or on Create a root view if you have already created one. You then need to choose a name for it.
A root view concerns all the images that have been added to the project.
Child View
To create a child view, there are two possibilities:
you can click on Create a view at the bottom of a column, this will create a new child view with the same parent view as the other views of the column.
you can click directly on the + button of a given view. This given view will automatically be the parent view of the view you create.
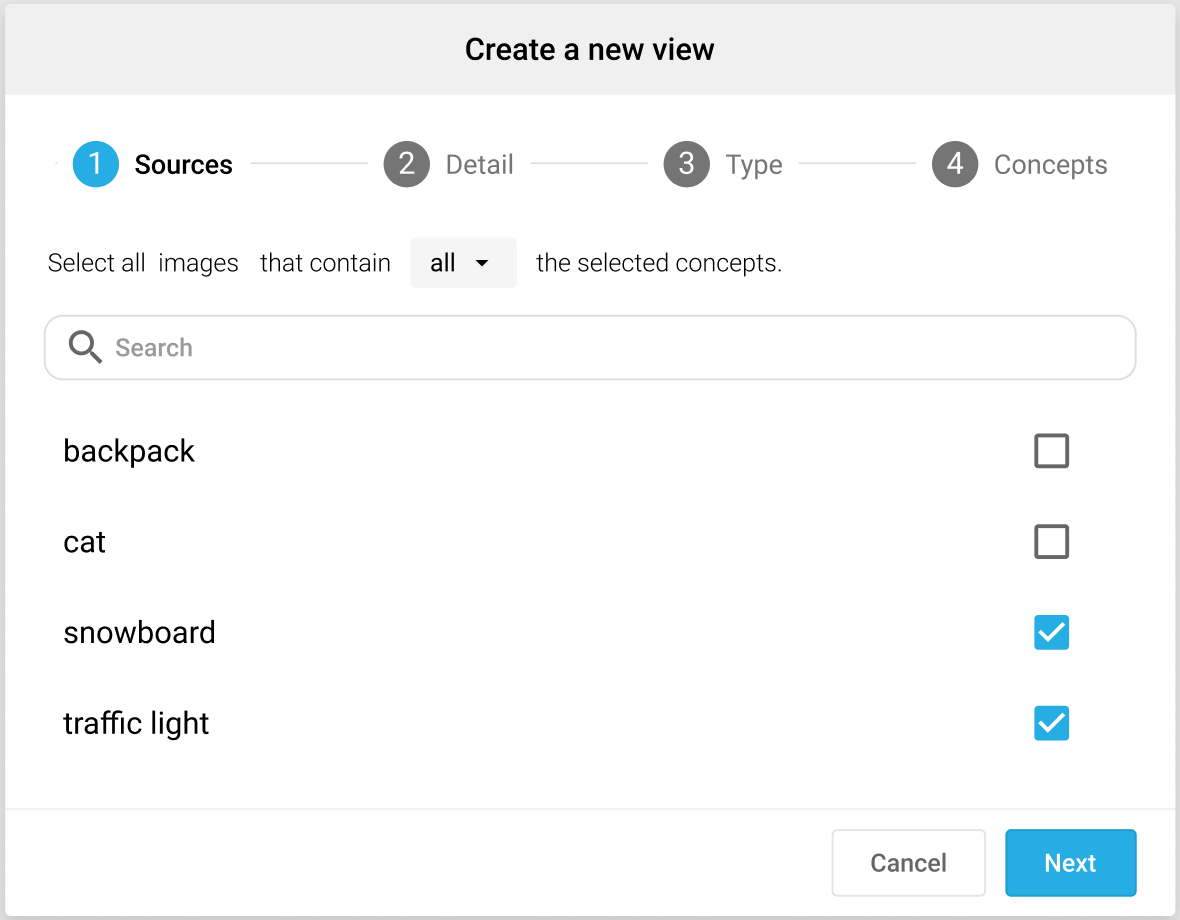
View Sources
When you create a child view, you must specify conditions based on the concepts of the parent view to select the images that will be added to the view you are creating.
when the parent view is a detection or tagging view, then you can use AND or OR conditions, and choose the concepts on which you want to filter.
View Type
You then need to select the type of view you want to create:
Classification: each image is labeled with exactly one concept and all concepts are then exclusive.
Tagging: each image is labeled positively or negatively for all concepts. A single image can then validate several concepts (or none).
Detection: concepts are localised in the image with bounding boxes. The information is then much richer as you can get several instances of a same concept in the image.
For more information on the different kinds of views, see our Guidebook on how to build your custom AI or our blog post series "AI for Dummies".
Concepts
You need to specify the concepts that you want to recognize. You can do so by clicking on New concept and by giving a name to your new concept. Don't worry, you can add more concepts and/or edit them after you have ended the project creation process.
You can also use existing concepts by importing a JSON file in which the concepts and images are defined. To do so, you must precise the field "tags" in the JSON. Check the JSON Upload page to know more about the JSON format accepted.
View Homepage
When entering a view, you access a screen where you can navigate through your Views and understand the hierarchy between all the Views.

Last updated
Was this helpful?