Classification and Tagging
Single Annotation
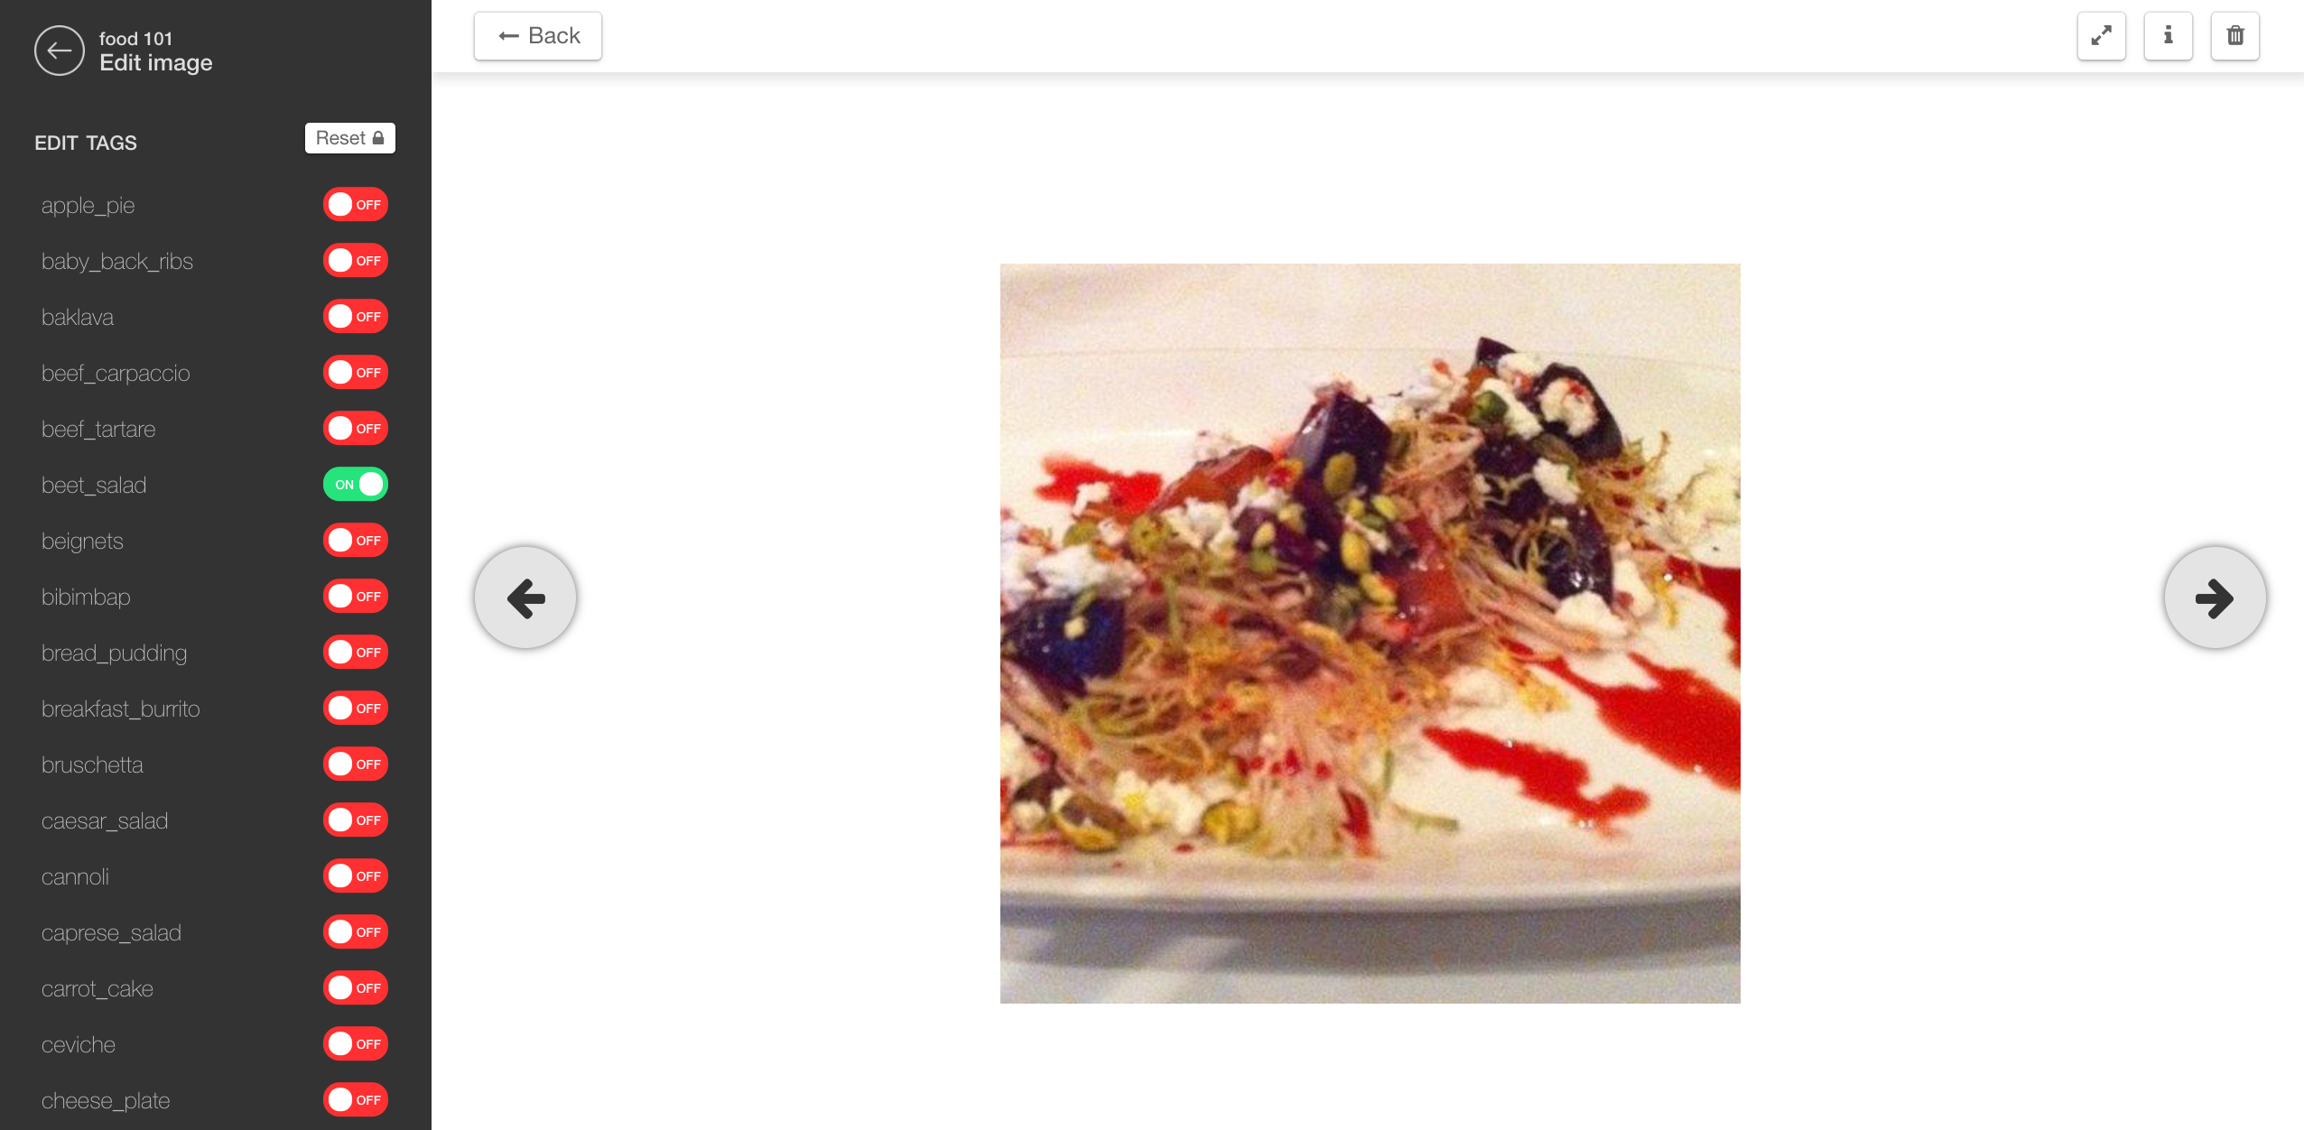
When you are on an Image page, the navigation bar on the left displays all the concepts attached to the project. Every toggle turned to green means the corresponding concept is associated with the image.
By playing with the toggles, you can then edit the annotations attached to an image:

It is not possible to partially annotate an image by only specifying a subset of all concepts. All concepts must be either turned to green or red to create a valid annotation.
You can navigate to the next or previous images by using the left and right arrows of your keyboard, or by clicking on the left and right arrow buttons.
Fast Annotation
To take advantage of the gallery pages, you can also make a selection and apply an annotation to all the images that you have previously selected. Here is how you can do that:
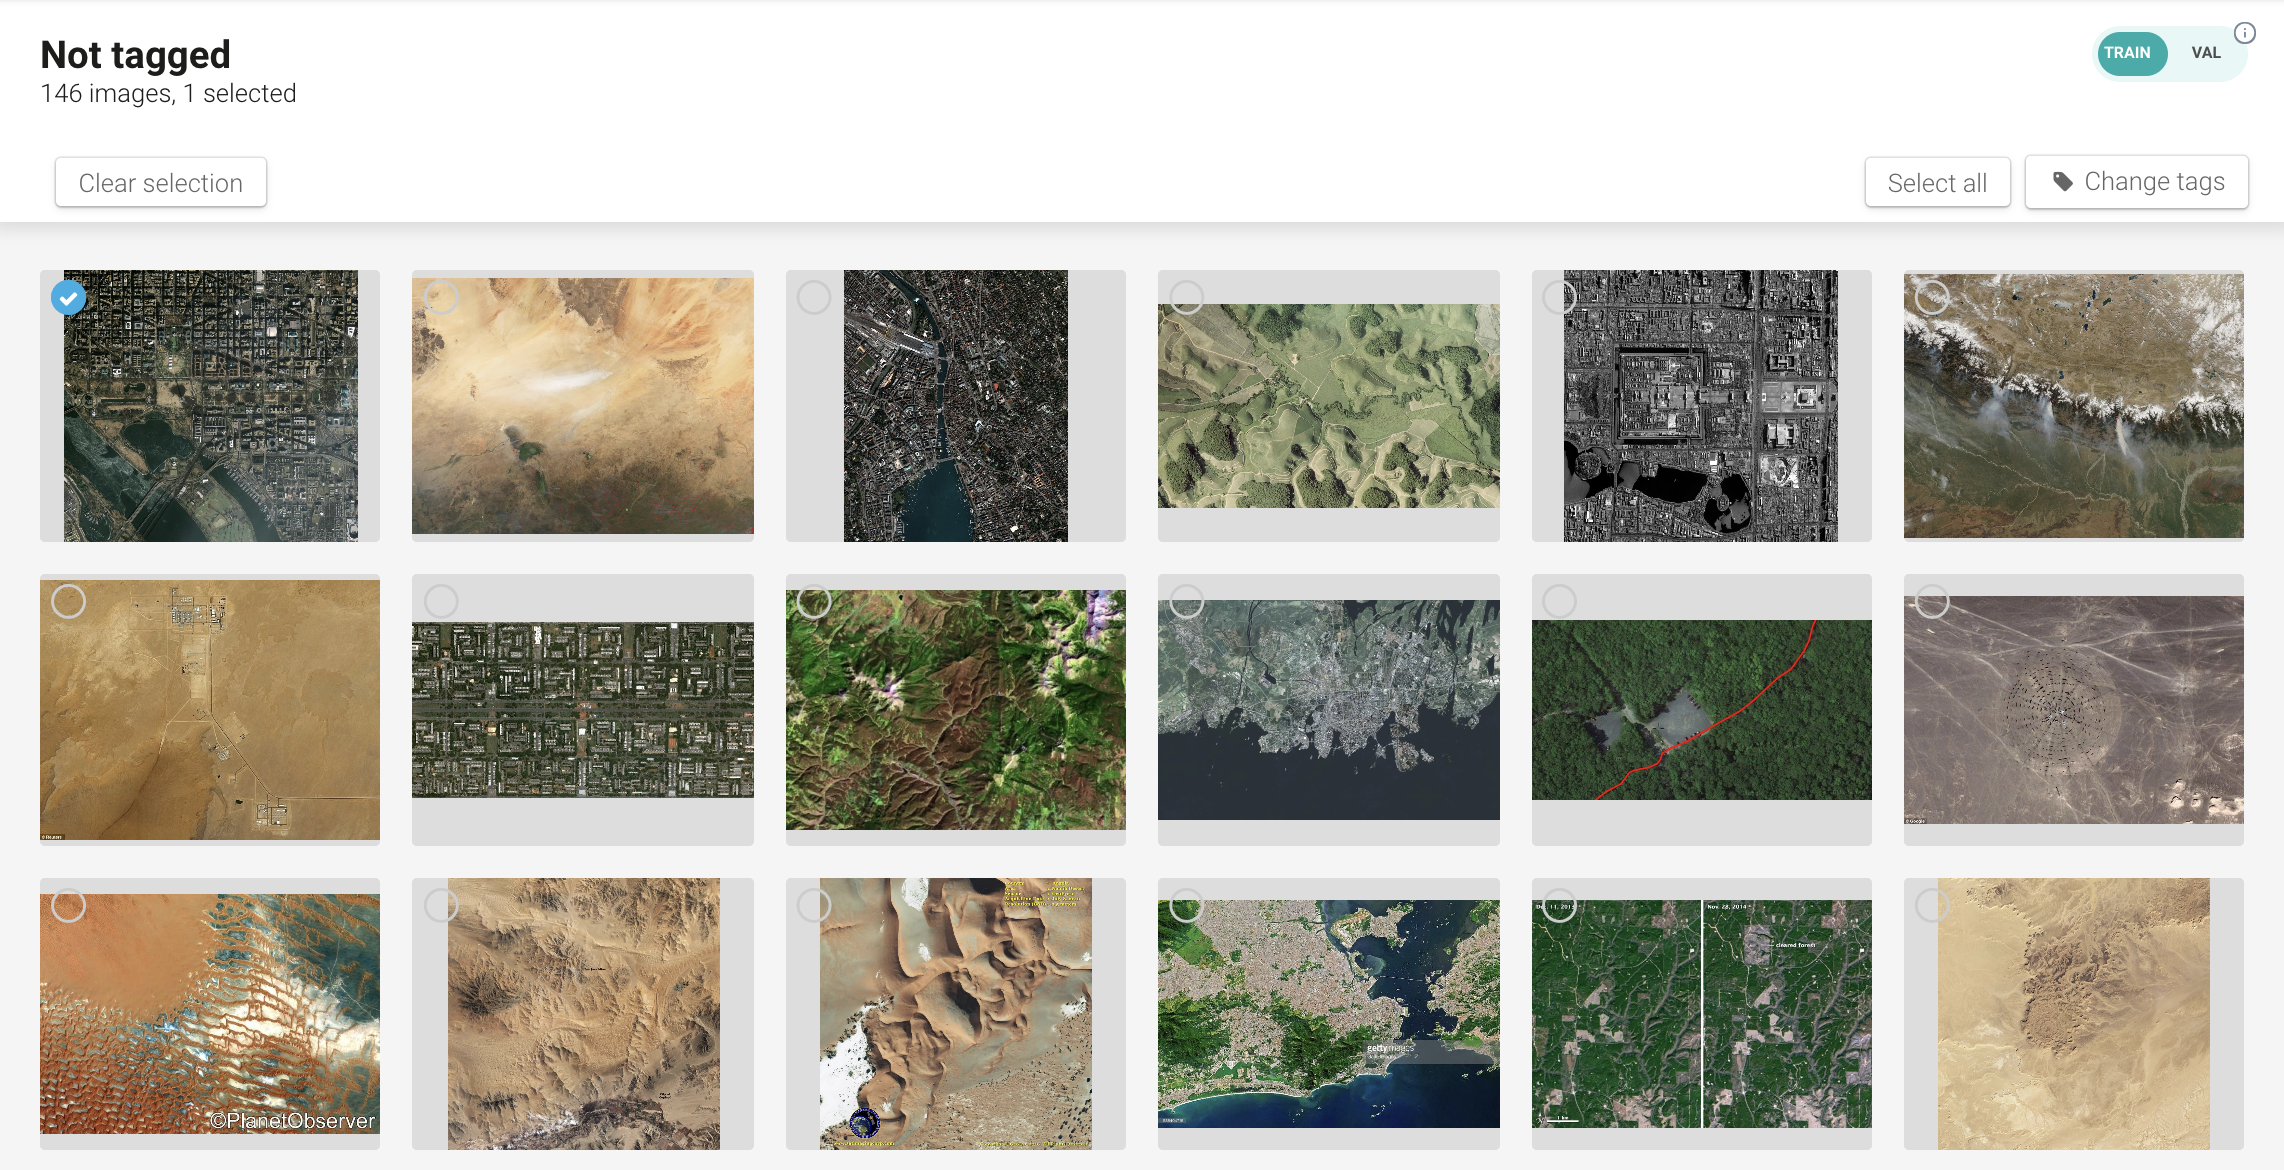
Go to a gallery page
Start a selection by hovering on an image and clicking on the small grey icon on the top left corner of the image

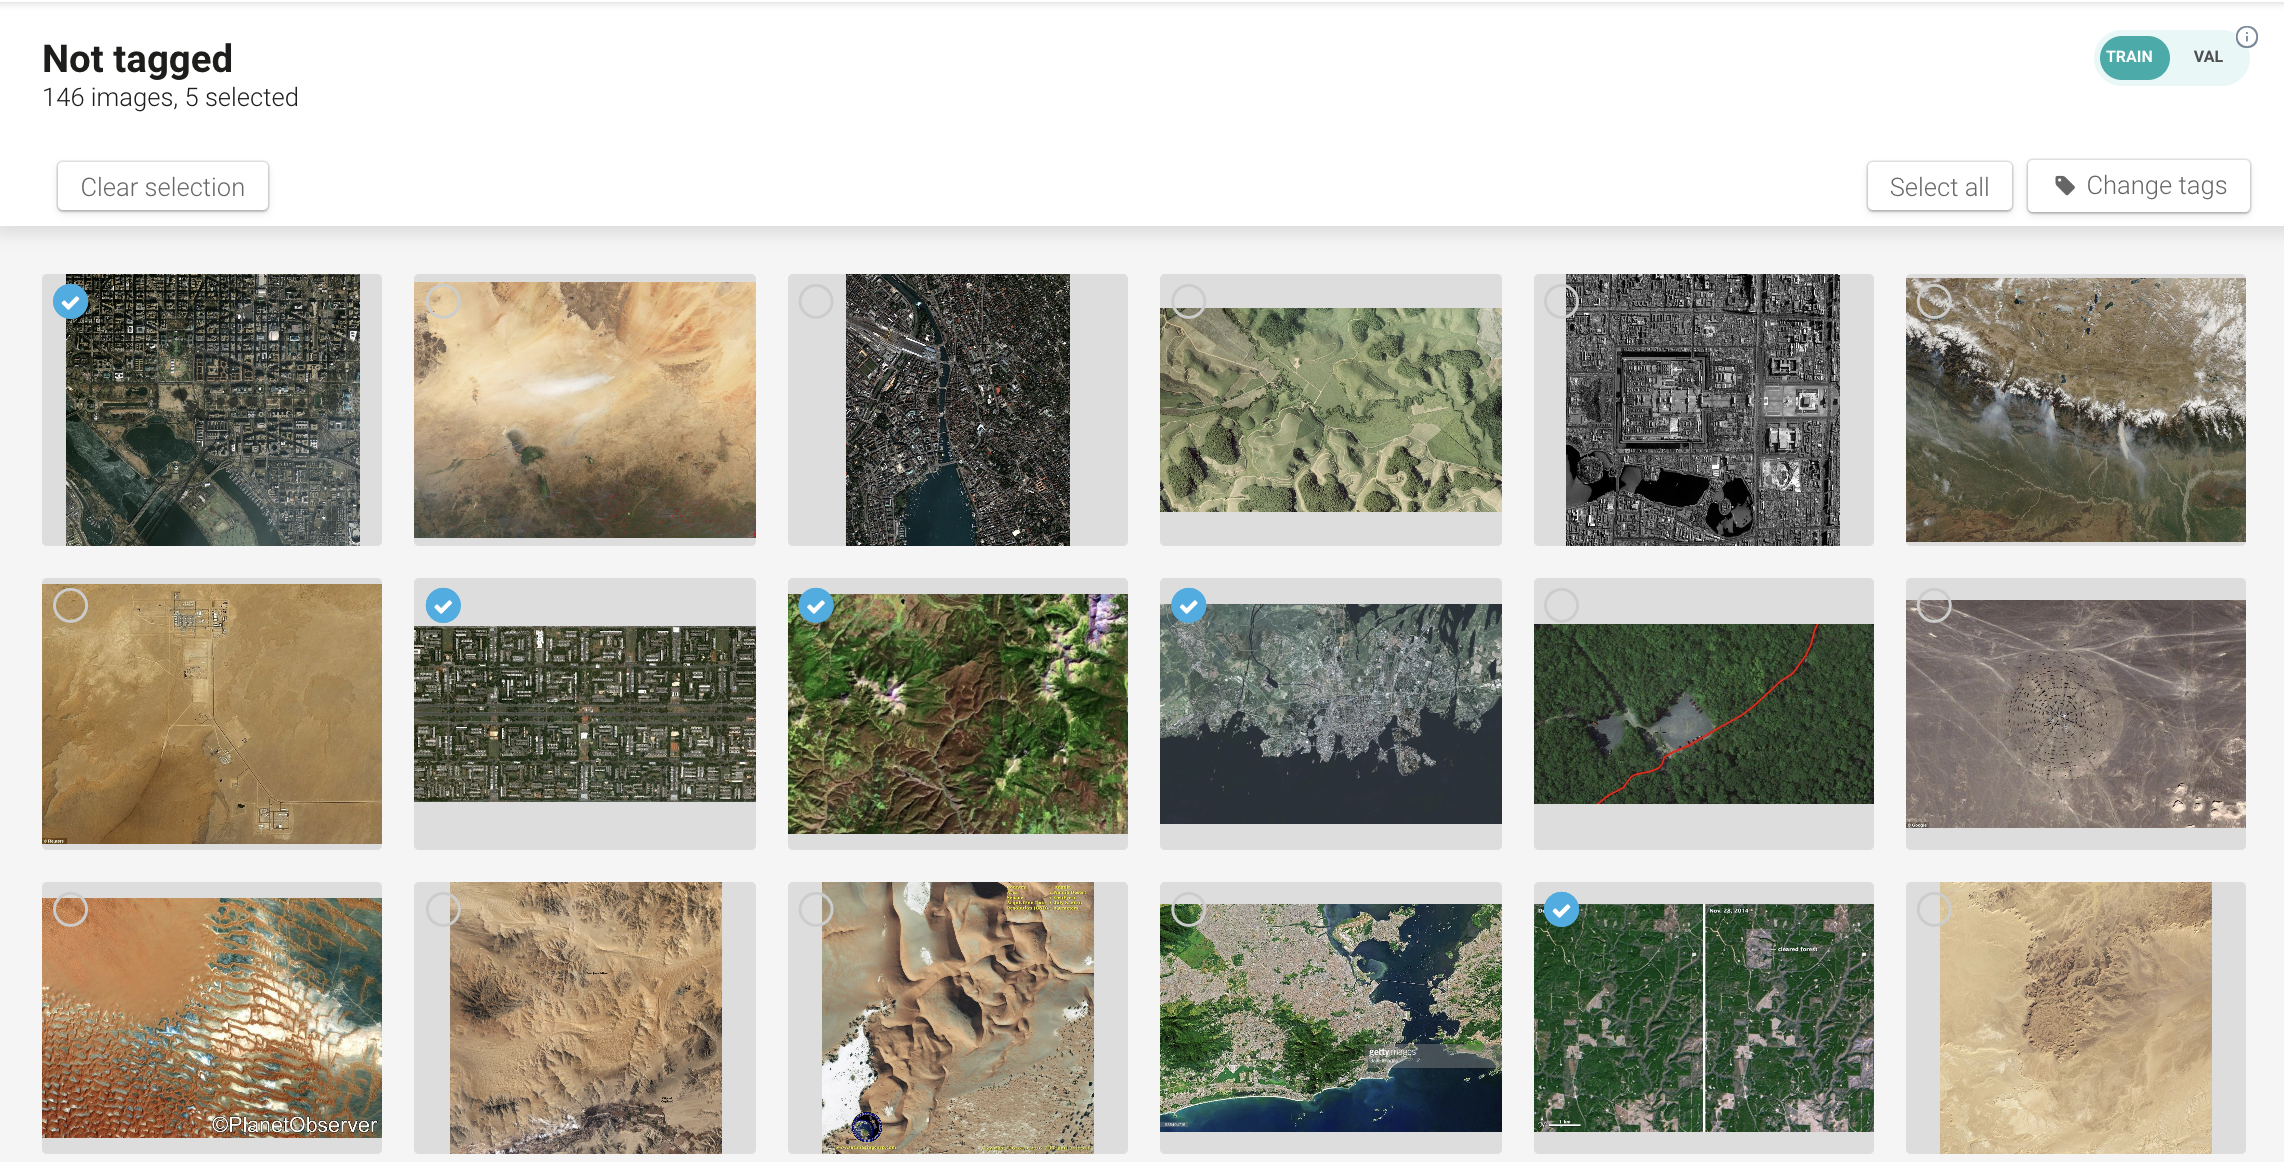
You can add as many images as you want to your selection by simply clicking on those images.
Using the Shift key of your keyboard, you can select a range of images by only selecting the first and last images of your selection.

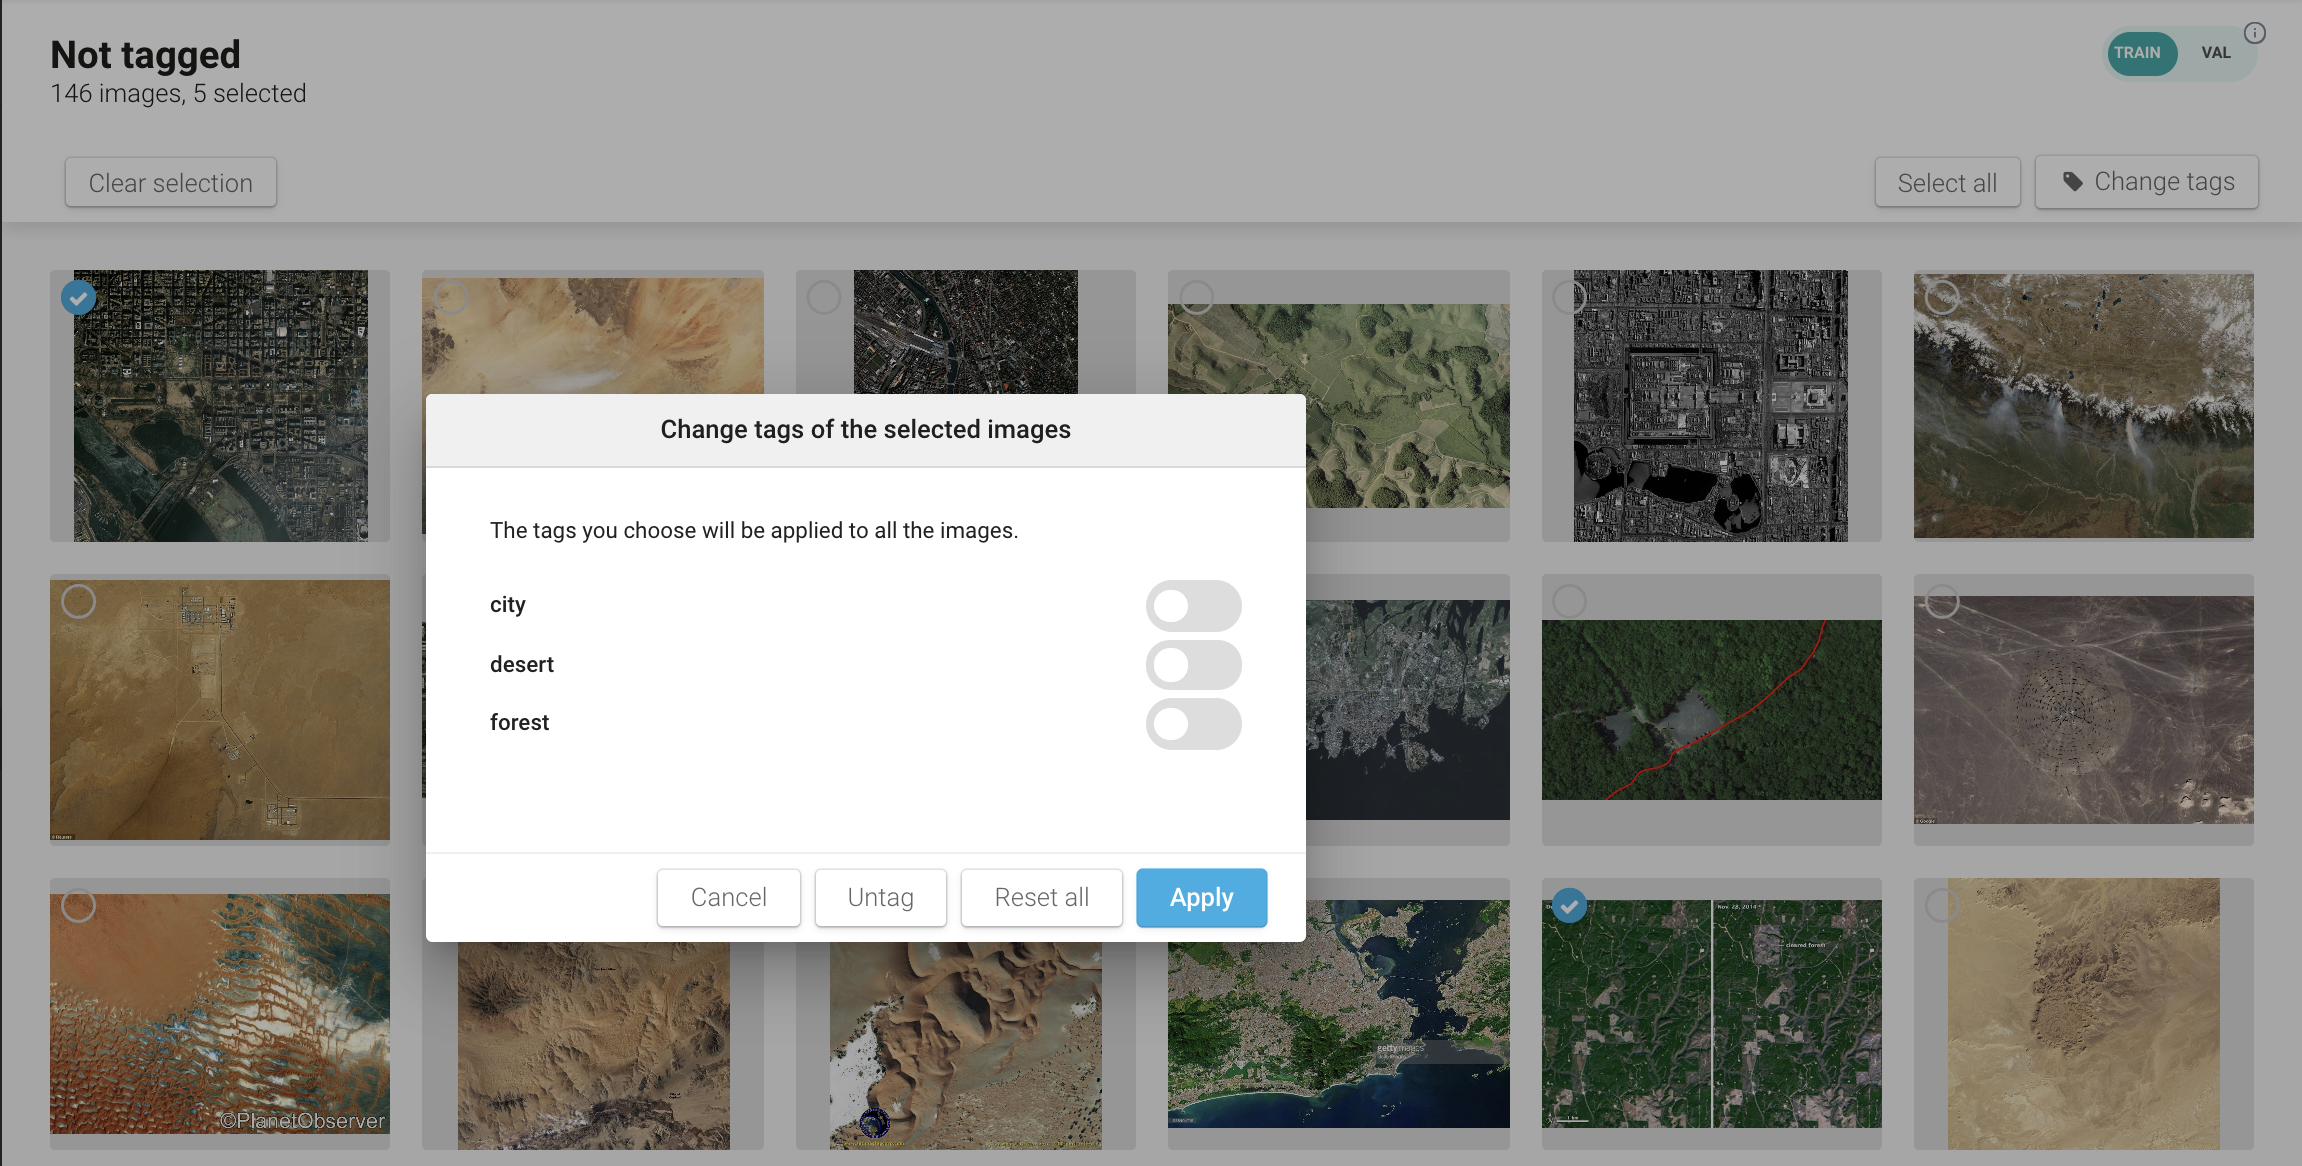
Once images are selected, you can click on Change tags, create or modify the annotation and then click on Apply. This will apply the same annotation to all images in your selection and the page will reload. It is likely that some images disappear from the gallery: this is normal and simply means that you have turned the toggle of the current concept to red.

Was this helpful?